Thursday, May 17, 2018

Stress Relief Needed


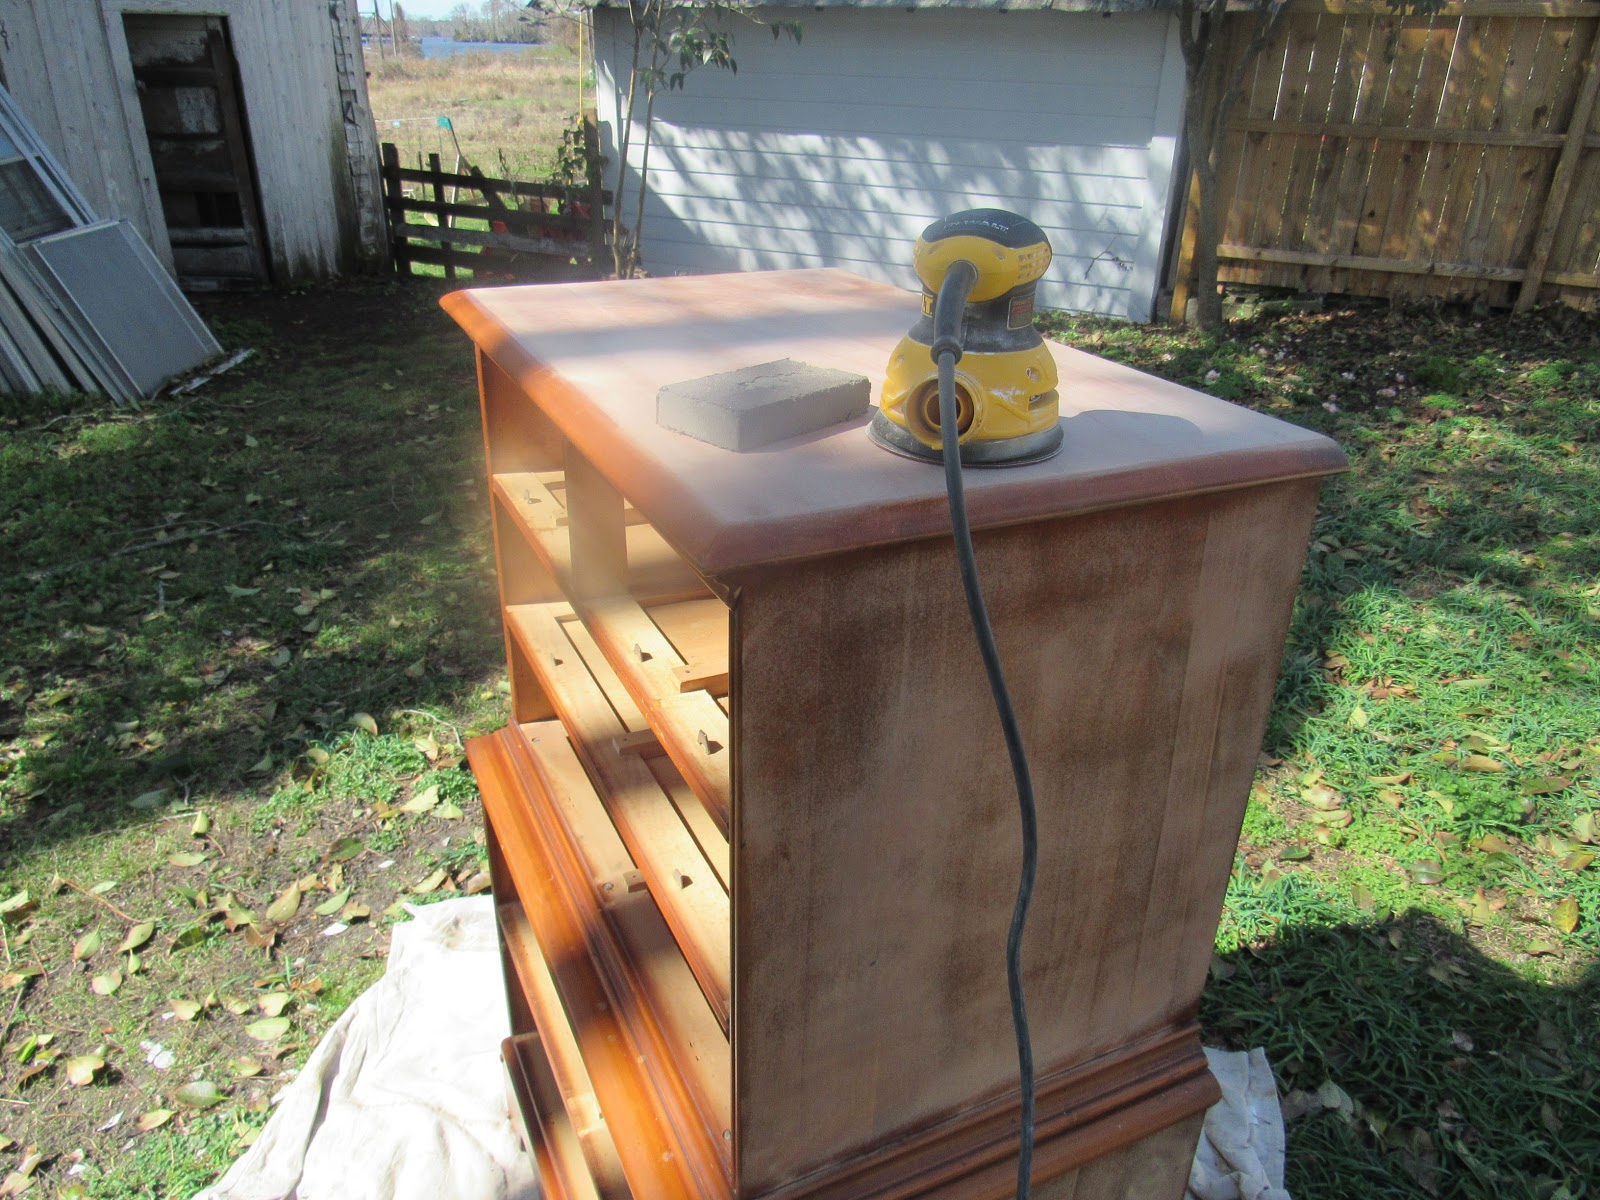
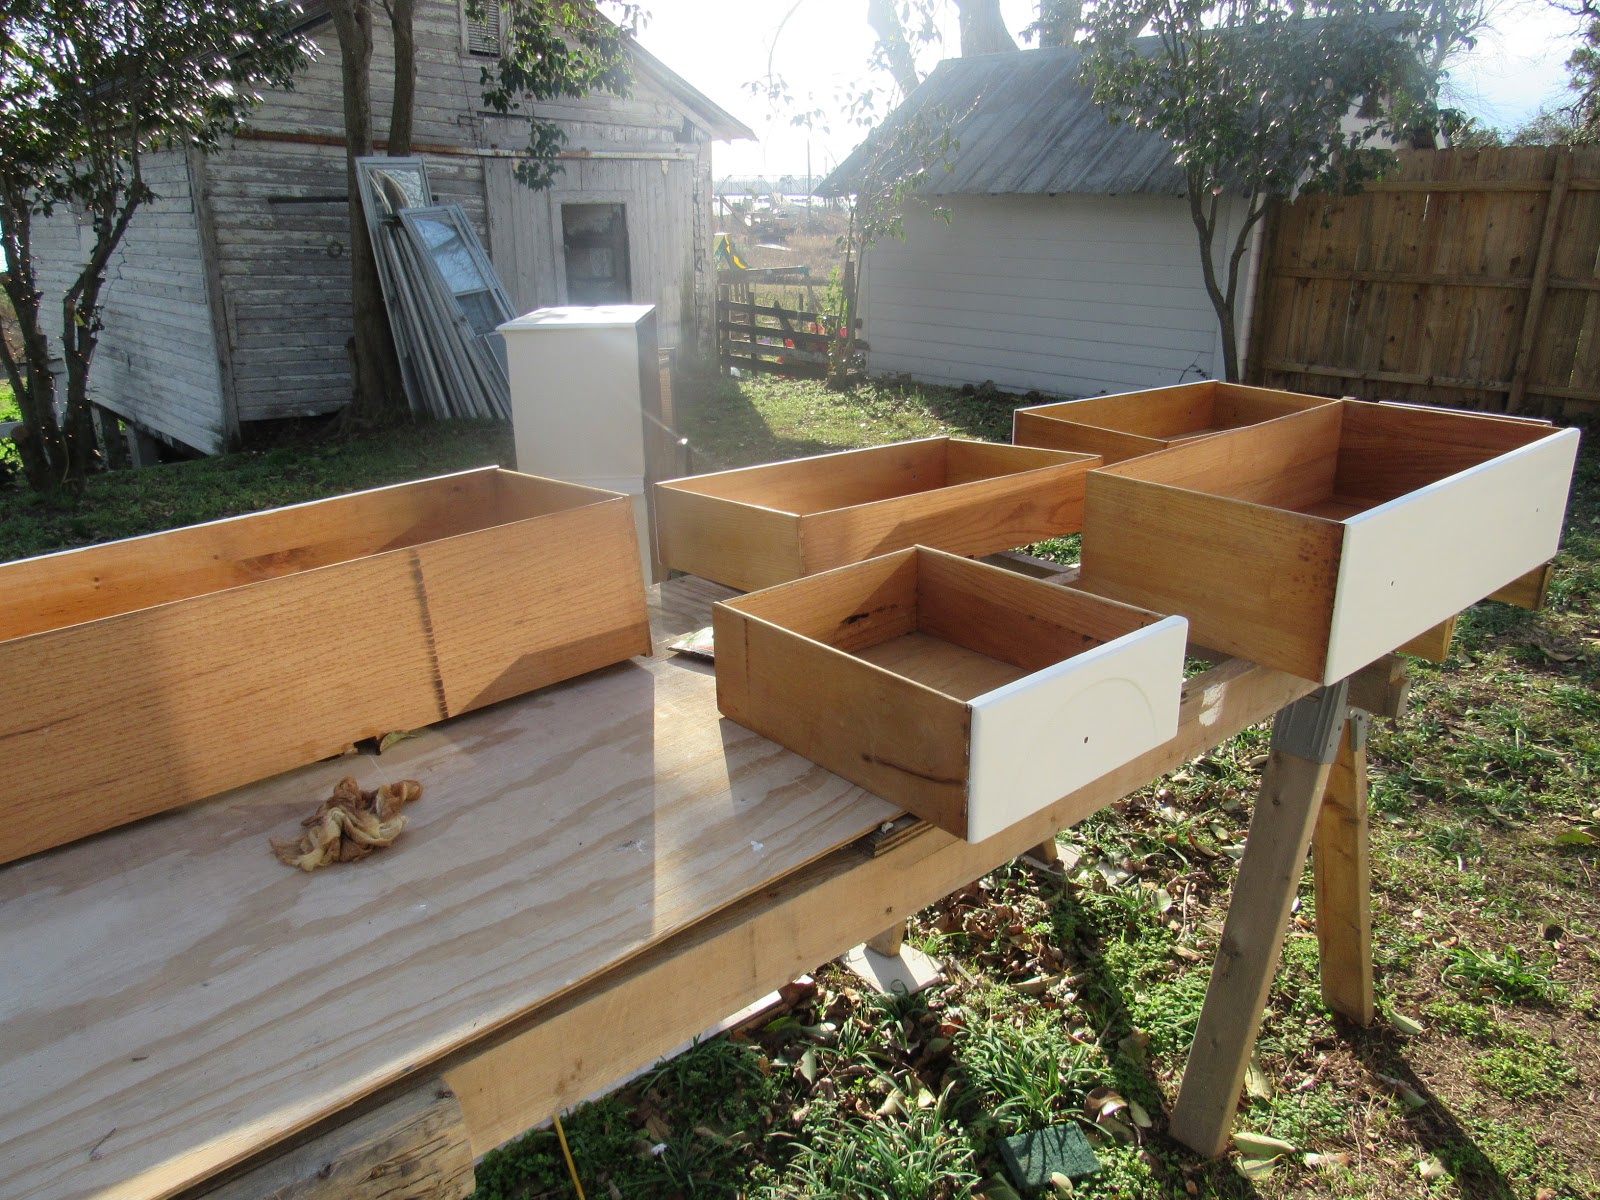
Some days are simply better than others.  Today is one of those antsy, anxious, and nervous type of days...why?  Just because I feel as if I have so much to do with so little time.  As I am currently working full time it has become a challenge to finish everything on our house, the yard needs attention, my daughter is expecting my second granddaughter, there are personal projects I want to complete, family concerns regarding aging parents, and the list goes on and on.  You know, the typical working wife, mother, grandmother, caregiver, daughter, woman, etc. kinds of chores.  Just a lot on our plates, right?

So this morning...while checking email and paying bills, I browsed through some of our pics (nope...don't have time for browsing 😢) but picked a few to keep the images in my head today as I go about my busy day.  Today is the last day of my "weekend" as I have to work Friday and Saturday.  So the rush is on to get my to do list checked off TODAY.  

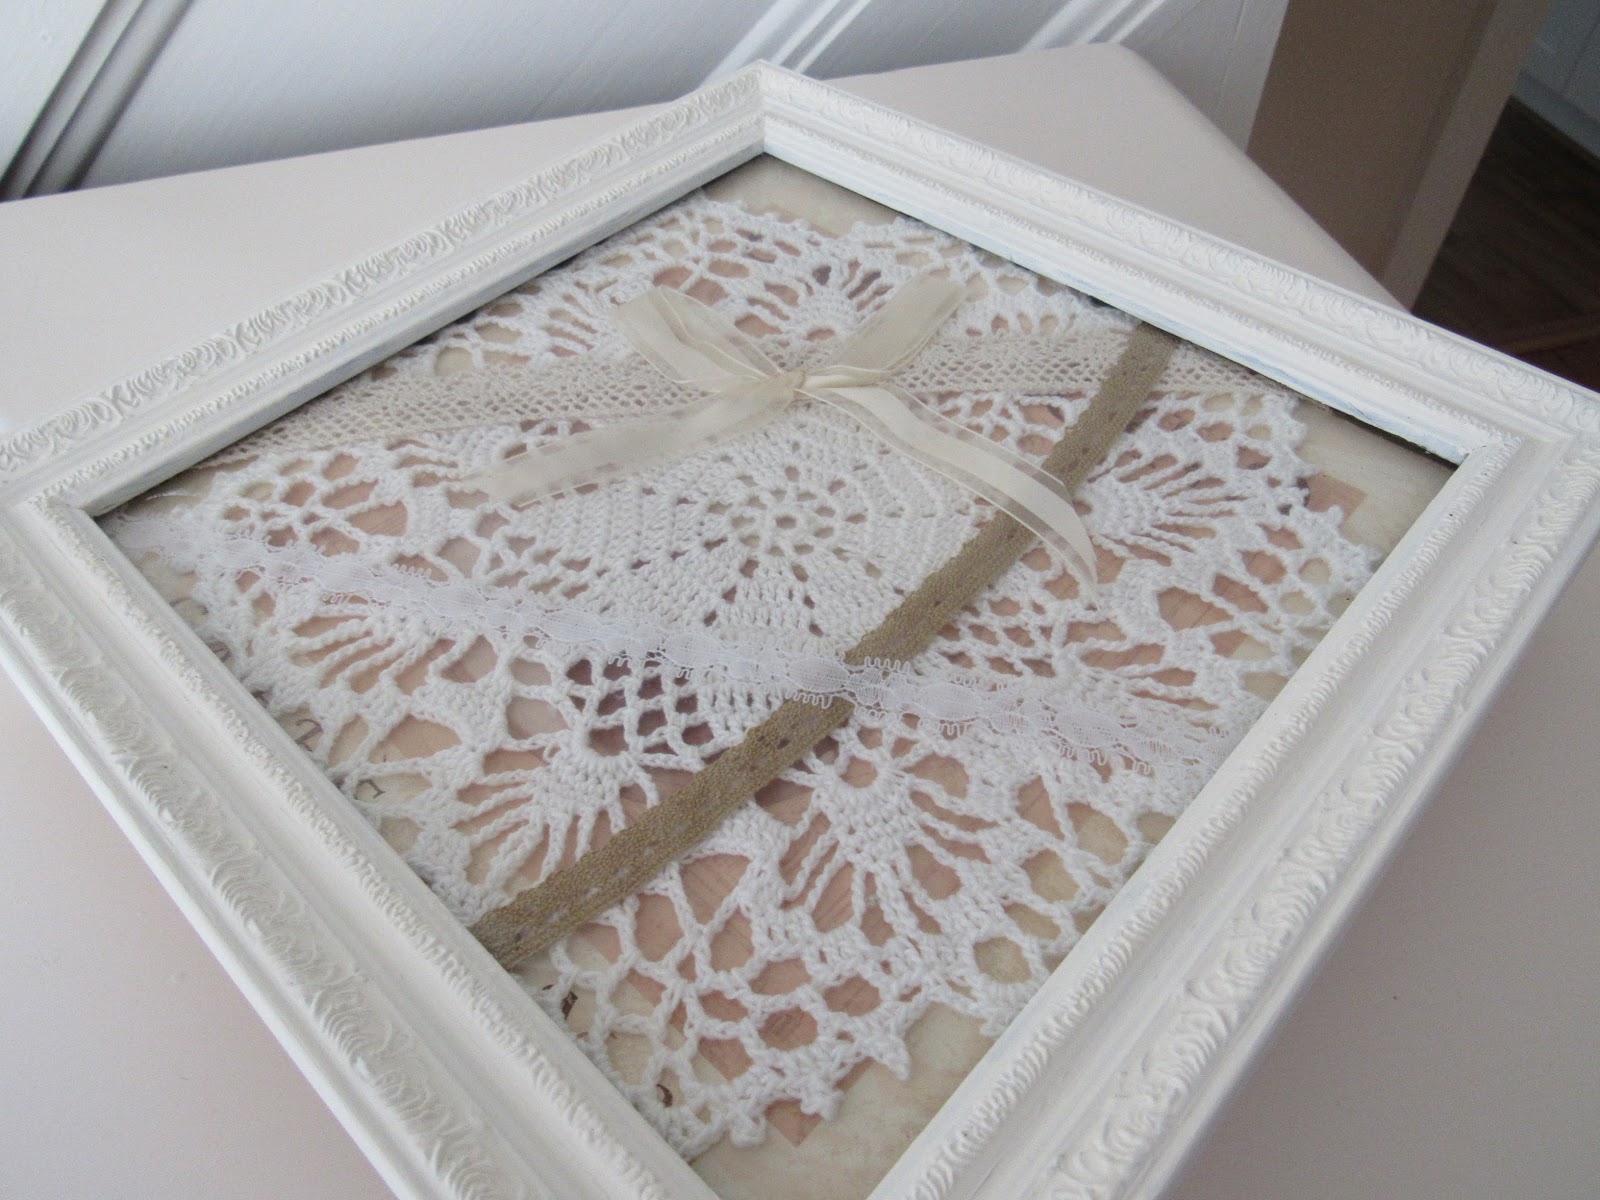
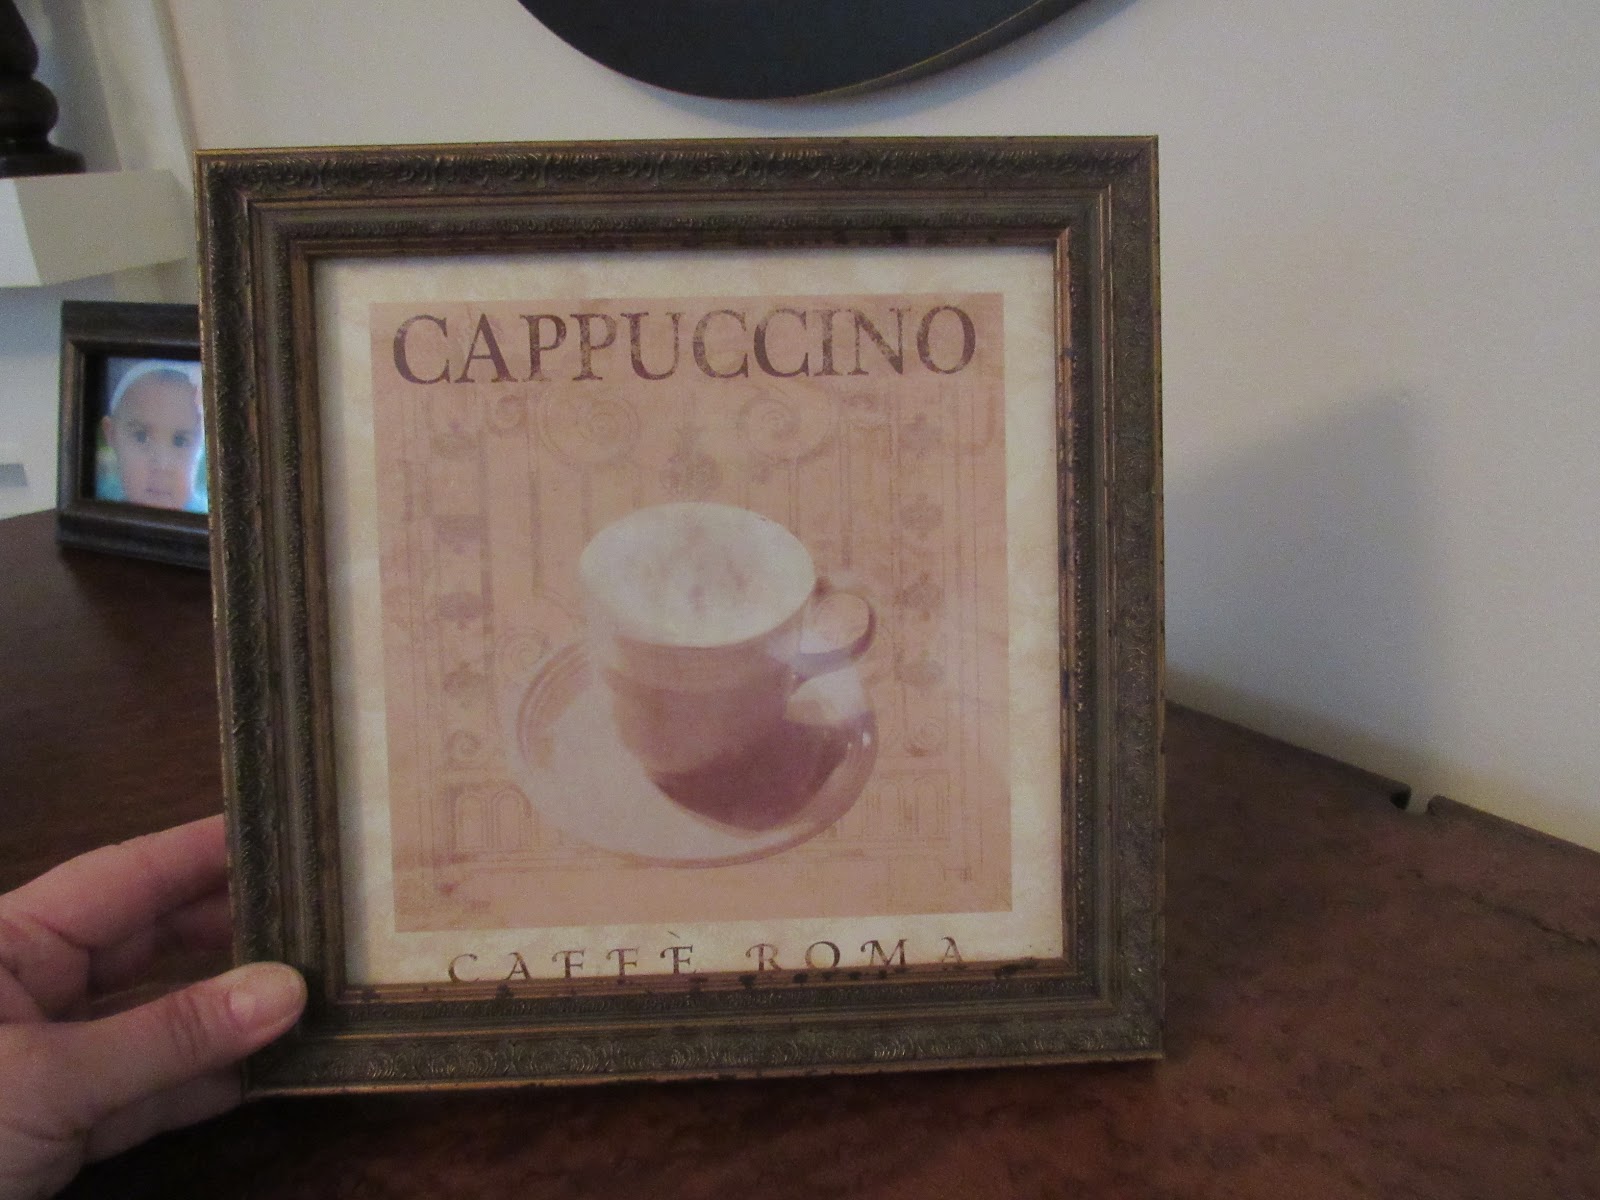
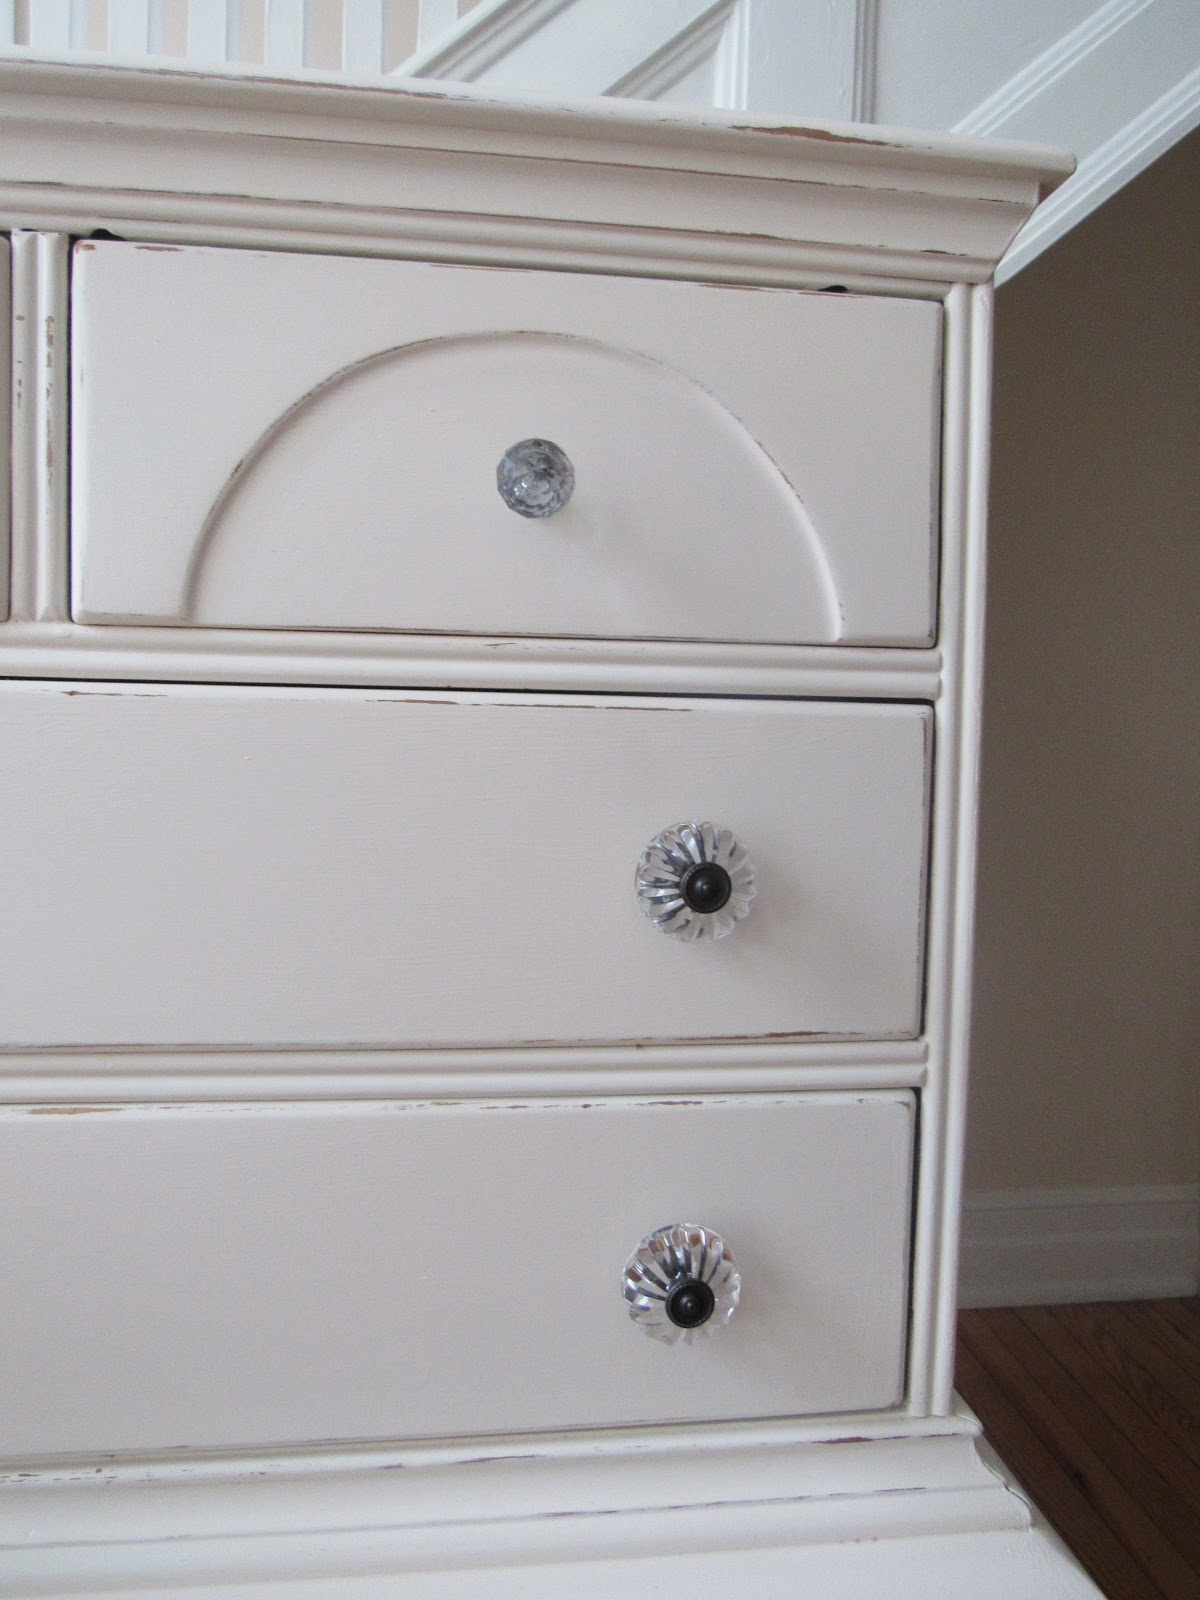
Anyway...thought I would share some stress relief pictures to help all those with 'To Do' lists.  Think of these as you go about your busy day.


Until next time...


Enjoy!

Sunday, May 13, 2018

Happy Mother's Day!


A while back, I shared that my mother gave me several doilies she made for me.  If you look back on the blog, I took one of the doilies and glued it to a wine bottle I kept. I have a few more, so since I had a few minutes of time to myself today, I decided to take another one of the doilies and transform it to something I will most likely use.

I have been wanting a small tray to place atop of my dresser.  Something to toss my daily jewelry onto when I am too lazy to open the top drawer and place the jewelry where it belongs...I know you have those kind of days😉.


See, I need a small collection tray on top


I found this old picture at a thrift store, for a buck.  I got it for the frame.  First I took it apart.


I then placed the doily directly over the print, the colors worked for me so I just left the print under the doily.  That and the fact it was a lazy kind of day for me.


I added a bit of left over lace and ribbon.


No glue or tape needed.  Next, just place the glass over top and it was placed back inside the frame. 


I decided to paint the frame after I got the doily done.  I should have painted the frame first, but oh well....


Once dried, I added some pretty paper on the back to give it a finished look, and then added wooden knobs to lift the tray up from the surface of my dresser.


And after I added the knobs, I decided I did not like them so, I took them off.


I added these instead.


And this is how it turned out.


with the knobs


without the knobs


Now I have a functional small tray for my dresser, and every time I place something into the tray, I see my mom's pretty doily inside.  It makes me smile.
I like it. 


Until next time...


Enjoy and HAPPY MOTHER'S DAY to all of the wonderful moms out there!

Tuesday, April 24, 2018

Soap for the Baby Shower


My daughter is expecting her second child in June.  Can't believe it is almost time for my new granddaughter to make her appearance!  Can't wait to see her!

We are planning a baby shower this weekend and my daughter asked me a while back if I would make soap as favors for her shower.  Since I had the day off from work, I decided today was a good day to get them done.  


Ingredients for this soap are simple...goat milk base, oatmeal, vitamin E, organic honey and eucalyptus oil.


I heated the base in small batches, and once melted added the rest of the ingredients, then poured into shallow pan.


Then waited.  Did not take any pictures of the pan or what I did while I was waiting. 😁  Actually I was watching the water rise outside during the downpour we had today.  


Once the soap hardened, I set about cutting the soap.  I wanted a shape that would be appropriate for the baby shower, so I used my heart shaped cookie cutter.  


Made two batches like this one.  I think I ended up with about 42 soaps.  My daughter told me that would be "plenty".  


Next step, adding lavender ribbon.  This baby girl has a lavender room waiting for her, so lavender ribbon it is.


My daughter has small clear bags that we will place the soap into, tie with another pretty little lavender ribbon, and then add a small tag with her handwritten note.  She will state what kind of soap...along with this statement...
"From my shower to yours...thanks for coming"    

Isn't that the sweetest?


Until next time...

Enjoy! 

Monday, April 23, 2018

Gardening Update

Several weeks ago, I shared my spring planter project with you.  Just wanted to show how well it has been doing.


This is what it looked liked then...


And this is what it looks like now....


We have been having arugula and baby kale for a couple of weeks.  Love fresh greens!

I spent most of yesterday transforming the south side of the house into what will hopefully be a mini garden.  It looked like this before. 


Now it looks like this...


A few tomato plants, a cucumber plant, my salad planters and a few herbs.  Will get a couple more plants later.  This side of the house gets good morning and early afternoon sun.  Will see how the plants like it there.  

Until next time...

Enjoy!

Sunday, April 15, 2018

Our River House Fixer Upper - Week 51

The work on the house is now at snail pace speed.   Not because it is almost done, but because there are other things that are higher on the must get done list.  Sun Daze (the boat) is currently in the yard at the marina getting some much needed TLC, so therefore the captain is busy with her and until Sun Daze gets back in the water, I am afraid I will not get our master bathroom completed.  That's okay though...the boat needs some love too, and we want to be able to use her soon.  


So no new updates on the bathroom.  We did however find a beautiful dining room set.  We have looking for some time and found a table and chairs we really liked at one of the furniture stores, but neither the captain or myself wanted to pay that much for a dining set.  It was however beautifully crafted by Amish craftsmen and worth every cent, just not what we were willing to pay.  So we set about looking for our "perfect" dining set at other places...in our free time.  I kept a lookout on Craigslist, at flea markets, thrift stores, etc.  And we found one.   Just what we wanted and at a great price.  


The table expands with added leaf to accommodate eight chairs (which all eight were included) plus the seller wanted to get rid of a small sideboard.  We didn't need a sideboard, but it was such a lovely piece, we opted to keep it.  


The question then was...where do we put it?   The only space that seemed logical was already occupied by the piece of furniture I had made for us a while back, in our middle room that we refer to as our hallway.  The pic below was during the holidays.


So we moved that smaller table and placed the sideboard there.  Then we put our little barn wood table in the living room.  


Fits nicely in that corner of the room.  I think we are now done with furnishing the house.   We need some personal touches, but that will come with time.  

Other than finishing the master bathroom, and some second coats of paint in a few places...the inside is done.  

I will make a video soon to show the progression of this project (once the bath is completed).  

Then it will be time to get to work on finishing the outside...deck, patio, porch, exterior lighting, landscaping, fencing....what were we thinking? 😄  

Until next time...


Enjoy


Tuesday, March 20, 2018

Our River House Fixer Upper - Week 48

Our bathroom vanity arrived.  After searching for several months, I think we have what we wanted for both style and function.  


It looks like a piece of furniture rather than a built in and is large enough for a sufficient amount of storage.  It arrived just yesterday so we haven't added all of the hardware yet.   We haven't found the right vanity top.  Still searching for something we both like.  It's not that we are that picky, just want to make sure we will be happy with whatever we chose, as once it is installed, that will be it.  


I am happy with the way it looks in our bathroom.  Once we find and install the vanity top, get mirrors on the wall, & install the tub/shower rod and curtains...then we can say this room is done!


We also have pretty much finished our living room.  There are a few touches that will be added, but that comes with time.  We don't want to fill up wall space or get pieces just to get them, but would like to take our time to find pieces that mean something to us.  Hopefully done when traveling or visiting family and friends.  

But this is what it looks like now.


Walking into the living room from the hall room area...


Side view...


Other side view...


Nothing fancy, just comfy.  Because of the large windows on 3 sides of this room, there is wonderful light during the day with blinds open.  Great for reading.  The captain did not think we would use this room much because it is at the front of this house.  No river view from this room.  However, from the beginning, I felt this room would be one of my favorite rooms.  I love to get up in the morning and have my coffee here,  watching the early morning news or having my quiet time before rushing in to start the day.    We love the way it has turned out and the captain uses this room more than he thought, especially the desk area.


That's it for this post update.  So until next time...


Enjoy!


Monday, February 26, 2018

Our River House Fixer Upper - Week 45 Part 2

I used my day off yesterday to re-do a piece of furniture.   We got this dresser last spring when we needed something for the captain's clothes.  Wasn't very attractive, but solid wood and reasonably priced.  Now the captain has a really nice dresser (got about a week ago and it is NICE!!), so we had to do something with this one.


See...not very attractive, but functional.   At first, we thought about placing it upstairs, but then I thought why not keep it downstairs in the hallway and use it for storing linens.  We talked it over and decided if I could transform it then we would  use the dresser downstairs.  

So I spent yesterday making it look a little better.  

I started by sanding the entire piece.  Have I mentioned before that I hate sanding?


After wiping off all of the dust, I covered it with two coats of Kilz primer.


It was such a pretty day, it did not take long to dry between coats.  While drying, I went to Lowes in search of a pretty color to go on the dresser.  I opted for Onion Peel.  Food colors speak to me 😉  I painted another two coats of satin latex in my picked color.  Only bought a quart and I have over half of can left to use for something else.


While waiting for that to dry, I enjoyed watching an eagle flying around overhead.  Tried to capture him in a good pic, but he was not cooperating with me.  This was the best I could get of him flying really close in our backyard.


We had these pretty glass drawer pulls that were included as a extra set with the captain's really nice dresser.   Decided they would work nicely on this dresser. 


Only had eight of these, and I needed ten.  So while at Lowe's, I picked up two different glass drawer pulls out of the mark down bin, for $2 each.  


Added the drawer pulls and then went to work on distressing the dresser.  I have never done this before and did not want it too distressed, just a little bit.  


And this is how it turned out.


Before pic...


After pic...


Not to bad for a leftover dresser and a day of re-do.  Now we have extra storage in our hallway.


Until next time...


Enjoy!